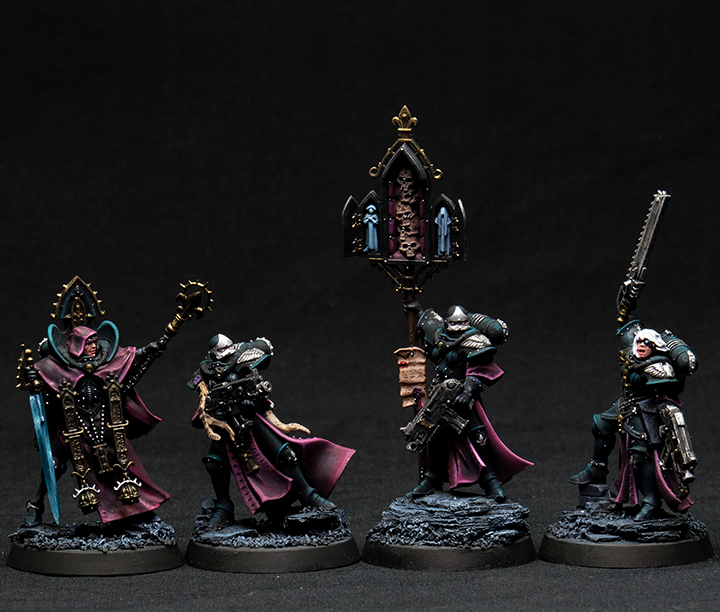
This is just a quick how-to on the bases I’m making for my Sisters of Battle. They’re pretty simple, as I wanted a minimalist color scheme that wouldn’t pull attention away from the models, but I did want something that would elevate them off the bases since their capes come down pretty far.
As you can see, if I tried to add rocks, mud, grass etc it would most likely end up touching the bottom edges of the model and also by having the model down so low on the base the cape doesn’t look as swooshy as it could.
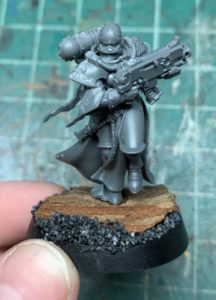
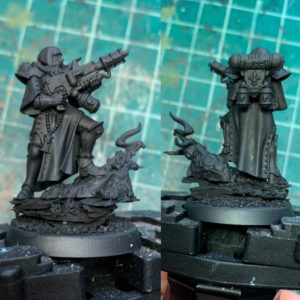
Here you can see the difference that that little extra bit of elevation makes. It makes her cape look much more dynamic and I think also enhances the pose because it looks like she’s running up and over some rocky terrain.
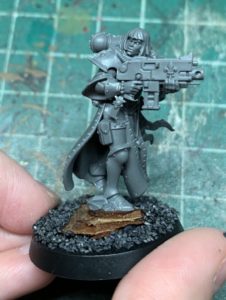
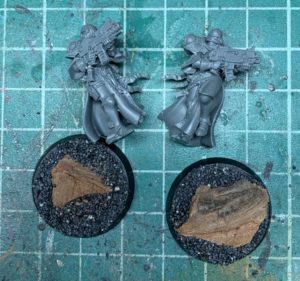
The difference is even more noticeable with this model since I used a much smaller piece of bark for her to stand on, so there’s a lot of space between the edges of her cloak and the base.
Now for the materials! I use Army Painter Black Battleground and some bark chips from the local hardware store.
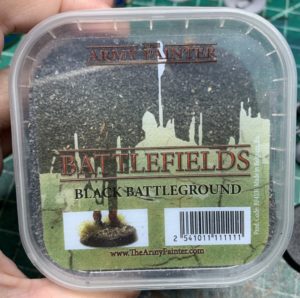
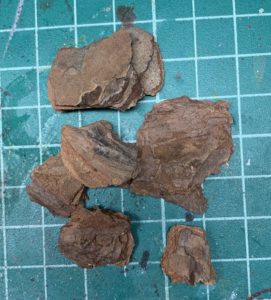
I like the Army Painter stuff because it’s easy to get a hold of and it’s the right size for the scale – I want it to look like gravel. The bark chips can be a bit tricky to work with since you need to dry them out first and because they don’t come in nice easy shapes or sizes to work with. I air dry because I’m lazy but if you want to speed things up you can put them in the oven at a low temp. As far as shapes go, I’ll usually grab a handful of chips and just start breaking them apart until I get a piece that seems like a good size then I dry fit to see how the model will sit on top of it. I haven’t had much luck with deliberately trying to shape a piece, it’s easier just trying pieces until you find one you like or one that almost works then chipping away at it until it works.
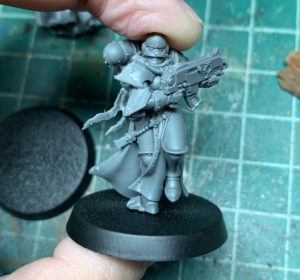
This is the most complicated one I’ve done so far. It was very tricky because this model has a much larger footprint than the other models so I had to fabricate a piece that was large enough for her to sit on but didn’t brush up against the bottom edge of her cloak & skirt. I ended up gluing several pieces of bark together to create this, and it was a lot of just cycling through the pieces I had and test fitting them until I got a shape I liked.
Speaking of which, glue. I used super glue because it sets quickly and because of the lamination of the bark pieces sometimes I need to glue each layer together because they separate sometimes when I’m breaking larger chunks apart. PVA glue should work fine, and arguably better since you can also seal your basing materials with a thin layer once you’ve glued them to the base. And you probably should but I don’t because again I’m lazy and that’s extra steps.
So my current “process” for these is dry fit the models & the bark and once you get a piece of bark you like, cover the entire base with glue, place the bark on, then dunk it in the black battleground pieces. Once that dries I might add some more glue & black battleground pieces to fill in any gaps between the bark and the base or even have the pieces spilling up and over onto the lower levels of the bark just so the two textures are more integrated.
At this point if the bark isn’t too crumbly and the model has a decent amount of surface area that will be touching the bark, I superglue the model directly to the bark. If the bark is crumbly or I want to make sure that the model will not get knocked off, I pin the model to the base, drilling all the way through the bark and out through the bottom of the base.
Now for the paint. So the cool thing about these basing materials is it’s really easy to make it look like rocks. You basecoat black, then dry brush grey and you’ve got rocks. Stipple on some green and you’ve got moss. Or in my case, I wanted some mood lighting so I dry brushed blues on. I used Dark Reaper and Fenrisian Grey. No special technique just some good old dry brushing and if you accidentally get a bit heavy handed with it you can always hit it with a black wash or two.
And that’s it!
0 thoughts on “Quick and Easy Rocky Basing”